Digital file trust panel
Treat a 3D file like a marketplace research object. Before download or print time, identify the creator or approved source page, read the license and seller terms, and keep the file path tied to that source.
- Creator or source page: verify the original listing, current file version, update notes, and support channel.
- License and terms: check personal use, remix permission, commercial use, redistribution, and printed-part sale limits.
- No mirroring: use Crawlers Bot as a research path, then follow the creator or seller source for file access.
- Listing evidence: compare platform notes, hardware list, photos, dimensions, and install comments before printing.
Source and license workflow
Start in the marketplace category, then open the creator, store, or source page before downloading or printing. The source page is where file version, terms, hardware, support, and format details should be checked.
Platform fitment snapshot
A file title can name a platform and still miss your body, wheelbase, hardware, or version. Before printing, match the file notes against your rig measurements and the part's installation environment.
- Platform and version, including scale, body, trim, axle style, and previous modifications.
- Wheelbase, tire outside diameter, body clearance, bumper position, and link travel.
- Hardware list, screw size, inserts, bearings, spacers, magnets, glue, and tool access.
- Material and orientation notes for the load the part will carry.
Print and part traps
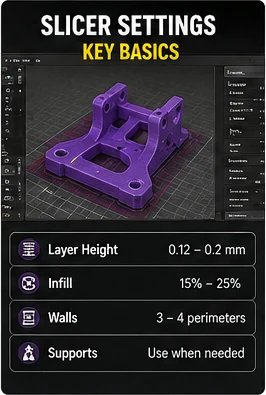
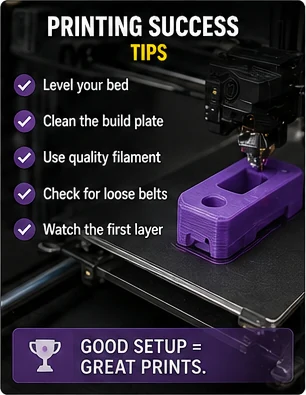
Printer settings and crawler loads both matter. A clean file can still fail if the material, orientation, screw size, heat exposure, or structural role is wrong for the job.
- Material: match PLA, PETG, nylon, resin, or reinforced filament to heat, impact, flexibility, and load.
- Orientation: check layer direction against pull, twist, screw pressure, and landing loads.
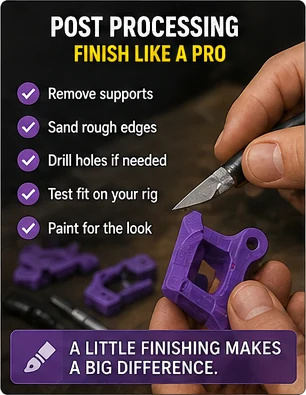
- Shrink and tolerance: test small holes, tabs, snap fits, bearing seats, and body mounts before final assembly.
- Screw size: confirm diameter, thread type, heat-set insert notes, and printed pilot-hole cleanup.
- Structural load: treat chassis, skid, steering, and suspension parts differently from interior or scale details.
- Event legality: check class or organizer rules before printing body, chassis, bumper, or scale-point parts.

Digital file versus physical product
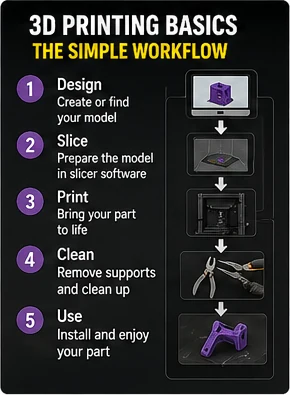
A file listing, a printed part, a hardware kit, and a ready-to-install upgrade are different offers. Compare the format before comparing price, because the missing work can include printing, cleanup, inserts, screws, paint, support removal, and test fitting.
Run the file research loop
Use the marketplace to find the file category, then leave the decision open until the creator source, license, rig fitment, material choice, and hardware list agree. Print a test section when the design depends on tight holes, tabs, or snap fits.
- Start with the file category, then open the creator or seller source page.
- Record the platform, body, wheelbase, tire size, hardware, material, and file version.
- Check support removal, orientation, tolerance notes, heat exposure, and load direction.
- Compare seller/source terms before downloading, printing, remixing, or selling a printed result.
Research next
Use these paths to move from a digital-file lead into platform fitment, body clearance, chassis or skid research, source quality, and fitment checks.